
Wardrobe
How to Photograph Your Clothes for a Digital Wardrobe
You need photos you can recognize later, not campaign images. Use even light, show the whole garment, and stop after one useful week of clothes.
In this guide
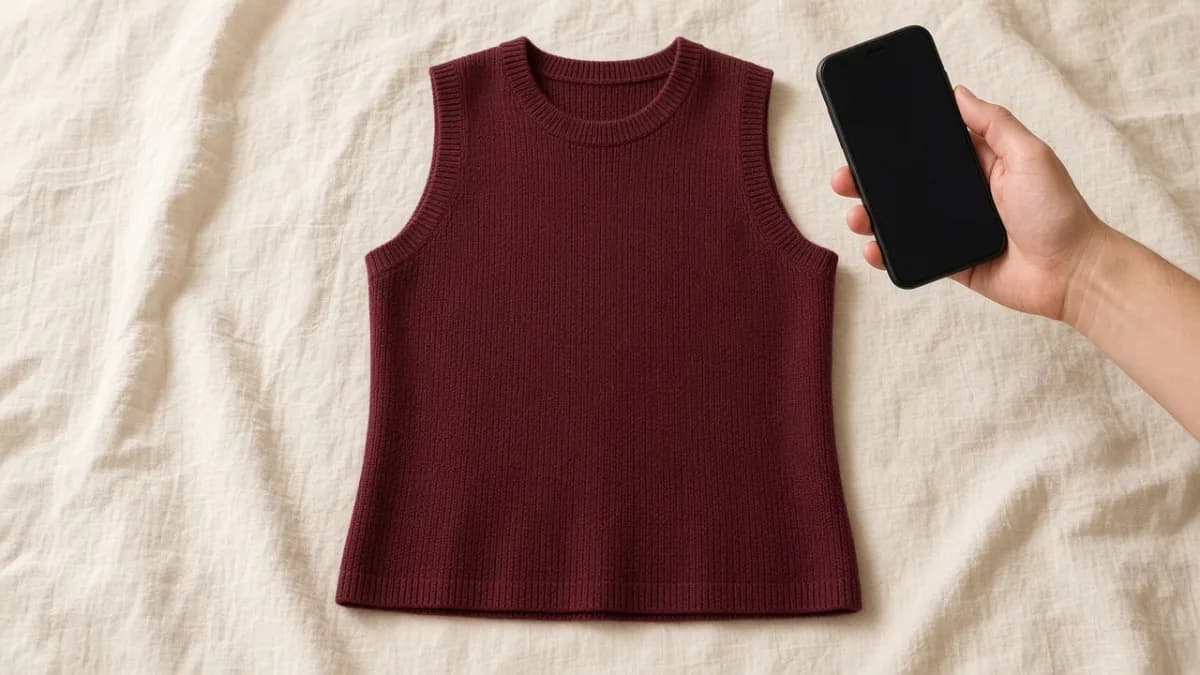
Photographing clothes for a digital wardrobe is a practical task: you need a picture you can recognize later, not a campaign image. The photo is there so you can find the piece, combine it, and avoid photographing it again.
If every thumbnail looks like a crumpled dark shape, the digital closet does not help you choose. Aim for a photo that lets you distinguish this garment from the similar one beside it, not a campaign image.
This is the capture guide. For what to do with the photos, see what a digital wardrobe is and how to organize one you will actually use.
What a useful clothing photo needs
You should be able to answer three things from the image alone:
- What kind of garment it is.
- Its color and general shape.
- Where it starts and ends — hem, sleeves, straps, shoes as a pair.
If you cannot tell a navy knit from a black one, the photo is not doing its job. Beauty is optional. Legibility is not.
Set up once, then repeat
You do not need a studio. You need repeatable conditions.
- Light: Stand facing a window or in even shade. Avoid a yellow overhead bulb mixed with daylight, and avoid a strong backlight that turns the garment into a silhouette.
- Background: Use a plain bedsheet, a door, a wall, or a floor with little pattern. Busy tiles make edges harder to see.
- Distance: Include the whole item with a little space around it. Cropped hems and cut-off shoes are how similar trousers become indistinguishable.
- One job per frame when you can: A single hanging shirt is easier to review than a pile. If you photograph several pieces together, plan to check each extracted item before saving.
Lay flats work well for knitwear, trousers, and bags. Hanging works well for shirts, jackets, and dresses, as long as the hem is in the frame. Shoes should be a pair, photographed from a three-quarter angle so the shape is obvious.
A simple sequence that does not take all weekend
Photograph the clothes for one real week, not the whole house.
- Pull the items onto a bed or rack.
- Take the photos in one lighting condition.
- Review them immediately: is the color roughly right, and is the whole piece visible?
- Add them to the wardrobe and correct category or color if the suggestion is wrong.
- Stop. Build an outfit from that set before you photograph anything else.
In Fashion Frame, add clothing from photos in Wardrobe and review the extracted pieces before saving. If one picture contains several garments, confirm that the saved items match what you meant to capture.
Common mistakes
| Mistake | What goes wrong | What to do instead |
|---|---|---|
| Shooting at night under mixed lamps | Colors shift; navy becomes black | Wait for daylight or use one consistent light |
| Only photographing the print or logo | You cannot see the silhouette | Step back until the full garment is in frame |
| Leaving other people in the shot | Privacy problem, and the item is harder to isolate | Photograph the garment, not the wearer, unless you intend a try-on photo |
| Heavy filters | The saved color will not match the closet | Use the default camera, no beauty presets |
| A different messy background every time | Thumbnails do not scan | Repeat the same wall, floor, or sheet |
You do not need a mannequin. You do not need to iron every piece perfectly. Wrinkles are fine if the garment is still identifiable. A ball of fabric is not.
Photos for try-on are a separate, stricter case
A wardrobe thumbnail can be a little imperfect. A virtual try-on preview depends more on a clear garment and a clear person photo. If you plan to preview a look, keep one well-lit full-garment image and a separate person photo you are comfortable using. Review the privacy policy before you upload either.
Do not use someone else's picture. Do not treat a generated preview as proof that the photo was “good enough”; compare it with the real garment.
What to do after you shoot
A camera roll is not a wardrobe. Add the items, correct the obvious mistakes, and create one outfit from those pieces. If the photos helped you get dressed, photograph the next group. If they did not, fix lighting and framing before you scale up.
Photograph so you can recognize the piece later. That is the whole standard.
Frequently asked questions
Do I need a white background?
No. You need a simple, repeatable background and even light. A plain wall or sheet is enough. A perfect white sweep is optional.
Can I use photos from shopping sites?
Those pictures are often well lit, but they may not match the garment you own — color, wear, and cut can differ. For a wardrobe you will dress from, photograph the actual piece.
How many photos per item?
One clear photo is enough to start. Add a second only if the first hides something you need, such as the back of a jacket or the shape of a shoe.
Put the guide into practice
Start with your own wardrobe.
Photograph a few everyday pieces and organize them in your digital wardrobe.
Try Fashion FrameContinue reading
Wardrobe
What Is a Digital Wardrobe?
A digital wardrobe is a visual record of the clothes you own. Here is what belongs in one, how to start small, and how it helps you get dressed.
Wardrobe
How to Organize a Digital Wardrobe You Will Actually Use
Keep your digital wardrobe useful after the first upload: correct categories, handle duplicate records carefully, and update saved outfits when clothes change.
AI Fashion
How AI Virtual Try-On Works
AI virtual try-on creates a styling preview from a person photo and selected clothing. Learn what the image can show and what still needs a real fitting.